Showing posts with label DIY. Show all posts

Wednesday, March 4, 2015

Homemade Bath Bombs

Good Morning, friends! I hope all of you are well ;)

The past few days have been pretty great! Lots of relaxing, a little learning, and a little crafting. There's no better way to spend time!

In the spirit of trying to eat cleaner and to be more conscious of what's in my foods, I thought that I should be more aware of what's in my beauty products as well. What I put on my body should be just as important as what I put in my body, right??

These Homemade Bath Bombs are a much better alternative to many store-bought bath fizzies. No crazy chemicals or funky dyes here! They're so easy to make and can be so easily customized for any occasion or taste. Use any shape of silicone mold and use any scent or essential oil. The possibilities are truly endless.


Homemade Bath Bombs

Recipe from Dixie Crystals

What you need:

1/2 cup citric acid
1 cup baking soda
1/ 4 cup extra fine granulated sugar
Witch hazel (in a squirt bottle)
Fragrance/essential oil
Silicone mold

How to make them:

Mix the first 3 ingredients in a bowl. Break apart any clumps with a spoon. Add the essential oil/fragrance, just a few drops at a time. FYI: a few drops go a long way. Mix up the mixture evenly. Squirt in the witch hazel, a little at a time, stirring to combine. Only add a few drops at a time so that the mixture to start the fizzing process. Once the mixture seems moist enough to pack together like damp sand, distribute the mixture evenly between your molds, but only fill the molds about 1/2 full. Press the mixture firmly into the mold. The more compacted the mixture is, the better the bath bomb will hold up. Let the bath bombs set up and dry for at least 2 hours to overnight, depending on how wet your mixture is.

Tips & Tricks:

To be on the safe side, I let mine sit for well over 24 hours to dry. They just seemed too damp after a few hours! And they turned out pretty great! I also halved the recipe because I didn't have enough baking soda. I ended up with four bath bombs, so if you follow the recipe as-is, you will get at least 8. I used Now Foods Lemongrass Essential Oil that I picked up at Whole Foods, but it's available on Amazon too.


So go make these, take a bath, and relax :)
Does anyone else wish they enjoyed baths more than they actually do?? Ha!


Monday, January 19, 2015

Paint Chip Valentine Bookmarks

Hi, friends. I hope you all had a wonderful weekend.

Right now, I'm on I-95 making my way back to Wilmington. I had a great time visiting my grandma and family in Maryland. It was also great to spend so much time with my mom. I miss that lady :) And it was also nice to spend time in the wonderlands that are Ikea and REI.


I have a fun Valentine craft for you all today... Paint Chip Valentine Bookmarks!

It costs practically nothing. I sort of stole the paint chips from a hardware store (and it shall remained unnamed), the ribbon was 50 cents, and the heart hole punch was $2.13 from Michael's (with a mobile coupon). I can only imagine how much fun I will have with that hole punch for future Valentine days-- totally worth the $2.13.

Anyway, I love this craft because it doesn't require any artistic or creative ability whatsoever. A child could make these!


You will need some paint chips, a regular circular hole punch, a  heart hole punch, ribbon, and scissors or a paper cutter.


Cut or trim the paint chips to the desired size. Use the hole punches to make fun patters or designs. Finally, add ribbon through the circular hole. Ta-da! And now you have a fun Valentine's book mark. If you have kiddos or co-workers, these would be so fun to pass out on Valentine's Day.


Happy Valentine crafting & have a wonderful week :)
If you're looking for more DIY Valentine ideas, check out this post.

Friday, January 16, 2015

DIY Valentine Round-up

Hi, friends. Happy Friday!!! I hope all of you had a great week and that you have an even better weekend. I'm heading out to Maryland to see my grandma tomorrow morning and I couldn't be more excited. I'm also pretty happy about spending some quality time with my mom. We're meeting up in a central locating and making the drive together. Road trip!!

I've been spending some of my free crafting up some Valentine-themed goodies over the last few weeks. It's no surprise that I adore Valentine's Day. I'm a Valentine baby after all. Yes, my parents were deprived of a Valentine's day until I reached dating age.

Valentine's Day is all about the good stuff: hearts, candy, and love. It's perfectly acceptable (and preferred) to get a little creative and have some fun with diy gifts and tokens of love. Here are just a few ideas of mine from years past. I'm sure your Valentine will adore anything you gift them, as long as it comes from the heart <3

Strawberry Bread with Glaze


Valentine Burlap Votive Holders


Candy-Filled Valentine Flower Pots


Fabric Button Earrings


Valentine Pennant Wreath


Polymer Clay Heart Charms


DIY Heart Banner


I'll be back next with more fitness, recipes, and new diy Valentine ideas.


Wednesday, December 31, 2014

How to Keep Your Resolutions

Hello there! And Happy New Year's Eve!

You guys, it has been one heck of a few weeks. Sometimes life just smacks you in the face and you forget how to cope with everyday things. But hopefully, you figure out how to get by. Or you just fake it until you make it. Either way.

Resolutions are a funny thing. Most of us make them, but most of us also break them before February even gets here. 

We have the best intentions: losing weight, being better friends, learning new things, experiencing new things, kicking bad habits... But we aren't quite sure how to get there. Or we lose motivation. It's very easy to forget a resolution or to give up completely when things don't happen easily. But that's life and it's really hard sometimes. 

While thinking about my own resolutions, I came up with a few tips on how to actually achieve said resolutions.


My resolutions for this new year are to be a kinder person, to get back into the shape that I was in just two years ago, and to be more conscious of the foods I put into my body and the body products I put on my body. 

I resolve to blog more often, even without Internet access at home, and I will learn how to braid my hair. 

And finally, I will learn how to use my sewing machine. For me, these goals are huge. I have a long year ahead of me, but if I can achieve these goals I will also have the best year ahead of me. 


Cheers to a fabulous, healthy, and happy 2015!

xo


Friday, December 5, 2014

DIY Boot Cuffs {Holiday Gift Idea}

I adore boots. I really do. I will wear boots in the middle of summer, when it's 90 degrees outside. And I am so excited to be getting a pair of Frye boots for Christmas. I'm going to wear those things until I die :)

You can only imagine how excited I was when I first saw the adorable boot socks that everyone's making. How could I not want a pair(s)!?! Here's the tricky part... I have a huge foot, size 12 to be exact. So, it wasn't surprising that I couldn't find any long and cute boot socks in my size, not even handmade on Etsy.

Out of pure frustration, I took it upon myself to make my own sort of boot sock contraption... a boot cuff! It's basically a faux boot sock. I don't take credit for inventing the thing; I'm sure it was thought of years ago, but I'm pretty proud of myself. It's not a real sock, but it looks like it is and it has the cute factor I was looking for. Add buttons, ribbons, or embellishments if you'd like. I like to keep things pretty simple over here :)

Oh, please ignore how hairy my leggings are. I have two cats and no sense of self awareness until the photo is already taken.


Knitting your own Boot Cuffs is really easy. All you need is some yarn (I used super bulky leftover from a project), a pair of knitting needles (I used size 13), and a needle to stitch the ends together. I casted on 13 stitches and knitted until I had a long enough cuff to fit around the top of my calf, under my knee where the top of my boots hit. 


Need help with knitting? No worries. I've got you covered in my "How to Knit a Coffee Cup Cozy" tutorial. Just cast on 13 stitches (more or less depending on your yarn) instead of seven and knit until you reach your desired length.

Happy crafting, friends :)
And have an awesome weekend!


Wednesday, November 5, 2014

Tips for an Acne-less Face

Hello, hello. I hope you are all having a wonderful day. I am SO glad that voting day has come and gone. I was getting so sick of all those commercials and ads. I can't even imagine all of the good things we could do with the money spent on elections #worldhungersolved

Anyway... Life in Wilmington is still an adventure. Even after three months of living here, we’re discovering more and more about our new city and it’s been great. The city is full of art and music, and there’s always something to do. So much fun!


Today I wanted to talk about something that’s not-so-fun… acne. Acne was never a problem for me until the last four or so years. It comes and goes, sometimes it’s hormonal, sometimes it has to do with what I’m eating, and sometimes it’s related to my stress level. 

Regardless of why I’m breaking out or how much I’m breaking out, it’s uncomfortable and it affects my self-esteem. I've tried just about every over-the-counter product out there (Proactiv, Relogy, Neutrogena, and the list goes on), but nothing ever really worked. I was only left with dry, irritated skin and bleached out clothes and sheets from harsh chemicals.

Even though I still get light acne, I've discovered a few tips that have greatly reduced my breakouts.


Having a clean pillowcase is probably the most important step in preventing acne. I have super thick curly hair that requires leave-in conditioner. That conditioner leaves residue on my pillow, which travels to my face and causes me to break-out. It’s probably best to have my hair in a pony-tail or a loose bun to keep it away from my face, but I just can’t get comfortable sleeping like that. Changing my pillowcase every few days ensures that bacteria, dirt, and grime don’t get transferred to my face. While I’m on the topic of clean, it’s also important to only touch your face with clean hands. It’s also important to clean everything that comes in contact with your face (phone, sunglasses, make-up brushes, etc.)

I don’t wear make-up often, but when I do, I use a gentle cleanser to remove it. Otherwise, I use a clean soft washcloth and water and follow up with a good moisturizer. That’s it! I always used some sort of cleanser or scrub in the past and I've found that it’s not always necessary. I still use an exfoliating scrub on occasion, but it’s not a daily thing whatsoever. While on the topic of make-up, don't go to sleep with it on. Just take the extra 2-minutes and remove it.

Every face is different, but I've found a positive correlation between my dairy intake and my acne. Read: the more ice cream I eat, the more I break out. Personally, I’m less likely to break out if I’m drinking soy or almond milk. Some people find that they tend to break out more if they consume sugary processed foods. Sugar only seems to affect my waistline. Ha!

Finally, the more water I drink, the less severe my breakouts are. I try to aim for at least 96 ounces of water each day. When I reach my goal water intake, my skin looks cleaner and brighter and I feel better overall. Water does a body good!


What are your tried and true tips for clear skin? 
Have you tried an acne product that works?


Wednesday, October 8, 2014

Chalkboard Witch Hat {DIY}

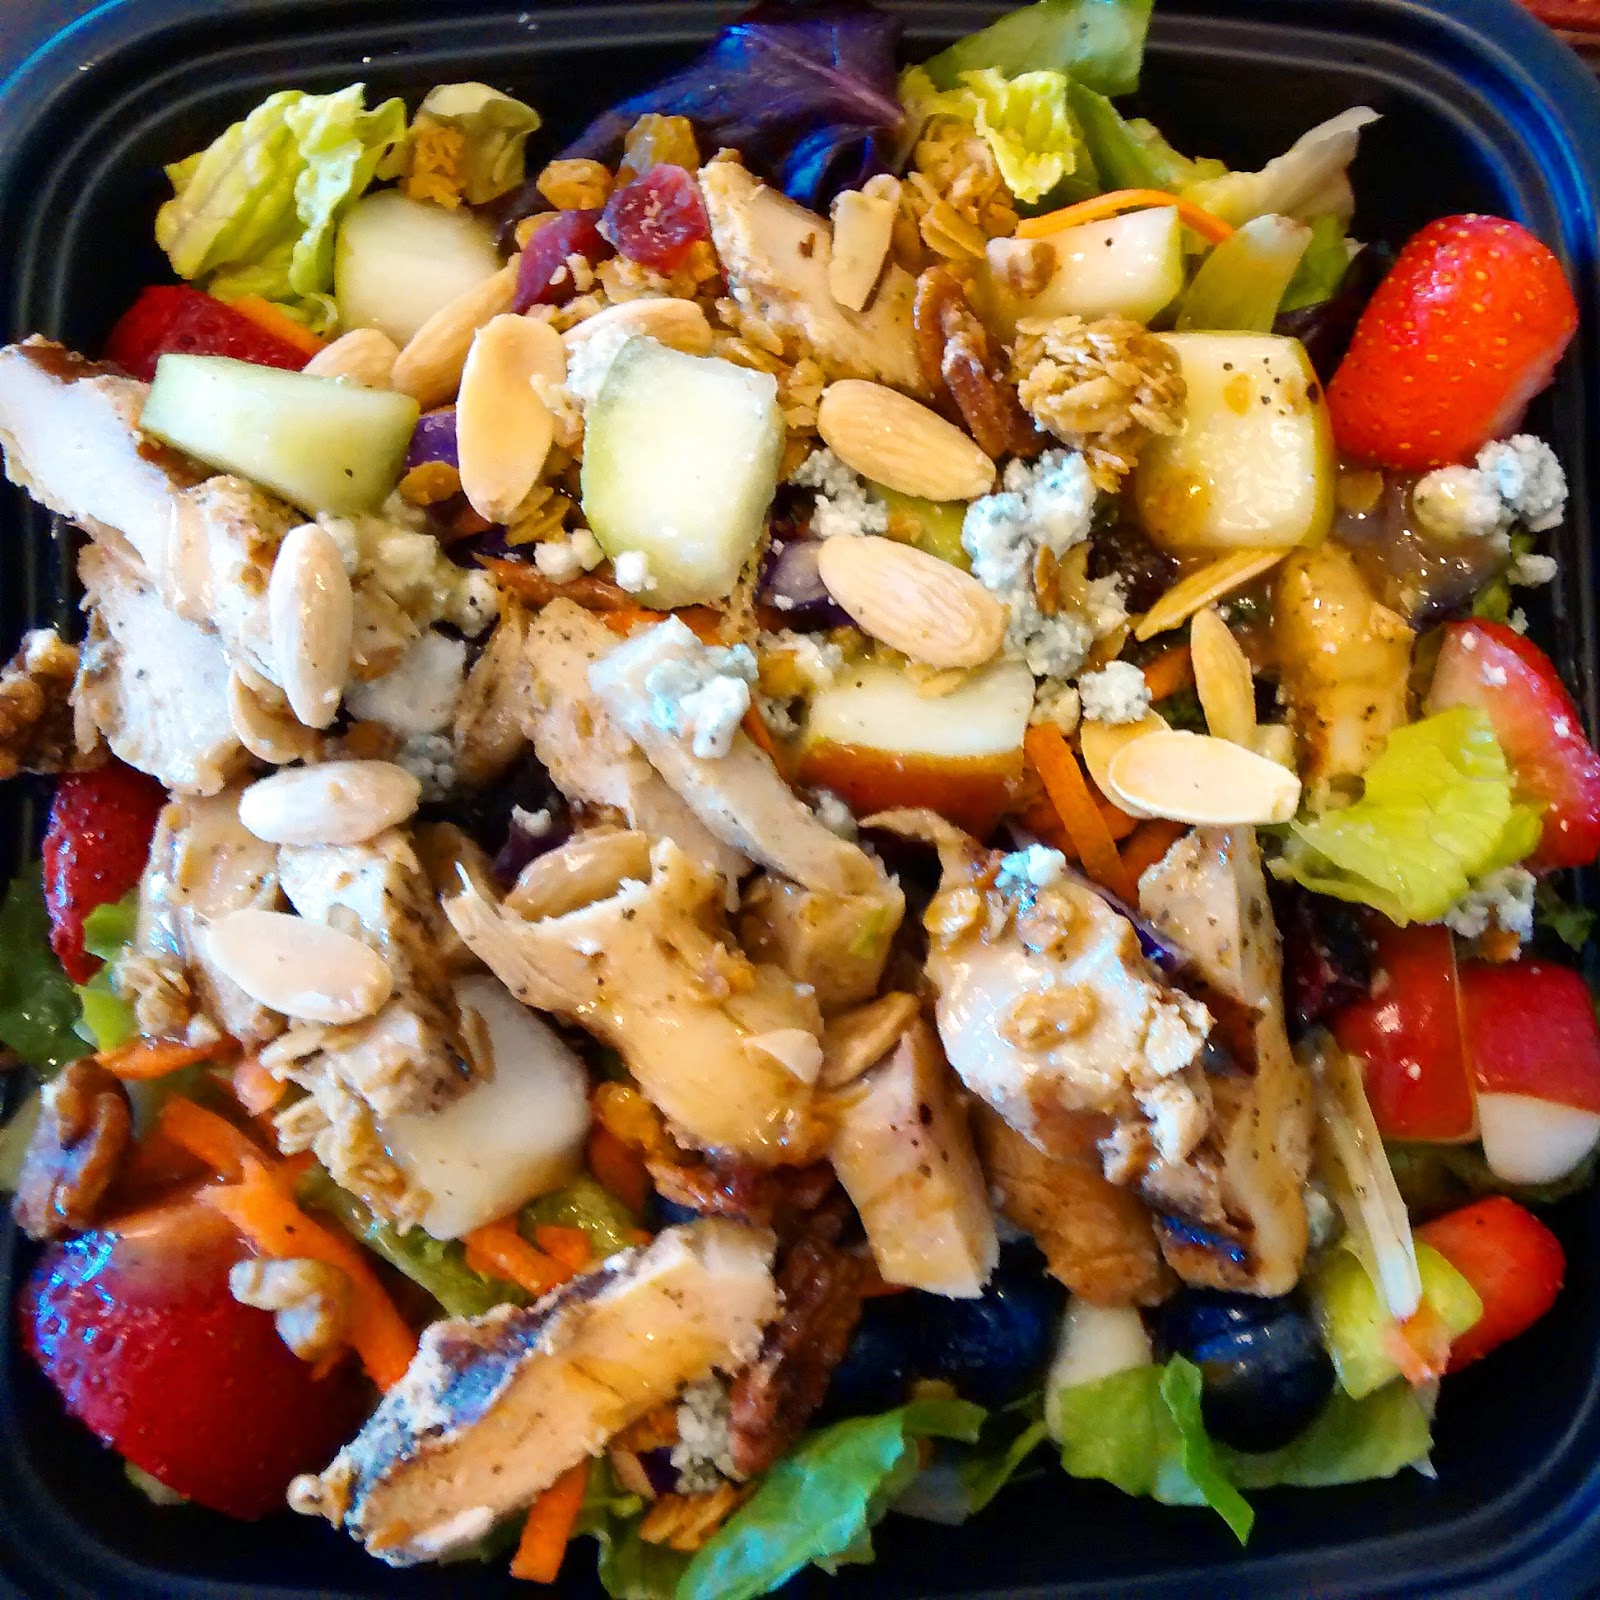
Hello, hello. Happy Wednesday. I hope all of you are having a wonderful week. I'm starting to get into a groove at my new job as Marketing Director at a local Chick-fil-A, which seems like a lot of fun so far. And I get to eat gorgeous salads for lunch every single day.


I have a super easy and inexpensive Halloween craft to share with you today.

I found a paper mache witch hat at Michael's at the end of the fall season last year for ten cents, so I decided to turn it into a fun piece for Halloween. This is where the chalk board paint comes in. Along with some festive ribbon and a a chalkboard pen, there are endless possibilities for your witch hat!


Have a wonderful day! I'll be back on Friday with a recap of this week's workouts.


Wednesday, September 24, 2014

Simple Syrup -- It's simpler than you thought!

Hi, friends. How's it going? I'm off to a great week-- working the last few shifts of my current job and about to start a new one! Details coming soon. I'm really loving my new city and enjoying the fall-ish weather. The fall decorations everywhere and pumpkin-spice everything make it even better!

I have a super easy DIY project for you today: simple syrup. Some call it sugar water or classic syrup; it's all the same!

I was in the baking aisle of the grocery store and I couldn't believe what I saw... simple syrup was for sale. I had no idea that something so easy and inexpensive to make was available to buy. That's was a shocker to me, but the even bigger shocker was the price.

A small bottle of simple syrup cost much more than a 5 pound bag of sugar. Do you have any idea how much simple syrup you could make with 5 pounds of sugar???? Let's not even go there.

Instead, I'm going to share how to make simple syrup. Simple syrup serves many purposes, but the most common is to sweeten liquids like iced coffee and mixed drinks.

Have you ever gone to a coffee shop and ordered an iced coffee and wanted it sweetened and the barista points you in the direction of sugar packets? Oh man, good luck getting the sugar to dissolve in ice cold coffee! I think it's a complete shame that any coffee shop wouldn't have simple syrup. A huge turn off for this iced coffee lover!!


Making simple syrup is very easy. Just add equal parts of water and sugar to a sauce pan and boil until the sugar dissolves. Let it cool and store it in a glass or plastic container, preferably one that has a pump or squeeze lid to make your life easier when you go to use it (an oil/vinegar glass container would be ideal). And that's it; your simple syrup is ready to be used. Let your iced coffee (and mixed drinks) rejoice!


Hope all of you are having an amazing week.
I'll be back Friday with an awesome workout :)


Wednesday, September 17, 2014

Homemade Plant Food

There's no simple pleasure I love more than fresh cut flowers on the table. They instantly brighten any space and add a smile to my face. 

I used to resort to buying fresh stems at Harris Teeter or Trader Joe's, but now I'm blessed with having a local farmer's market that has the most beautiful assortment of flower bouquets. Beautiful flowers for my home + supporting small businesses = super win. 


The only downfall to fresh cut flowers is that they don't last as long as I would like them to (well that and my cats try to chew/shred them). I always wondered what the trick to long-lasting flowers was, and now I have it! My friend Jennifer shared a simple solution that she picked up from a florist and I'm excited to share it with all of you today. 

I've already tried this solution and I'm happy to report that my last farmer's market bouquet lasted nearly two weeks! I will be using this Homemade Plant Food every time I get fresh flowers; it's magic :)


Hope you're having a glorious week :) I'll check back in on Friday with a fun workout.


Saturday, April 26, 2014

Easy Handmade Hanging Rack

Hello, hello. Happy weekend! Break out the power tools because I have a fun and easy tutorial for you today. This handmade hanging rack is very simple and inexpensive to make AND it's totally functional and cute. Make one this weekend; you won't regret it!


Start by choosing a piece of wood and cutting it to the size of your choice. Anything will work, even scraps. I chose some beautiful clear cedar, but that's totally not necessary. Tip: Ask your local lumberyard if they have any scraps or imperfect pieces laying around that they could give you or sell to you cheaply. And, most stores will even cut the board for you.


Once you have the board cut to size, grab the closest guy and have him rout the edges for you! Just kidding; girl, you got this! Routing isn't necessary either, but it makes nice finished edges. There are all sorts of router bits, so get creative!


Once the edges are routed, use a pal, sander to smooth any uneven surface. You can also use a piece of sandpaper. Next, paint the board! For this particular hanging rack, I wanted more of a shabby look so I applied a lighter coat to let some of the grain show through.


I then went over the board with a piece of sandpaper and roughed it up a bit to further achieve the look I was going for. Next, I measured the board and decided where the knobs would go. Once I had it all figured out, I marked each spot and pre-drilled the holes.


Choose some knobs and make sure you have screws that fit each knob. Mixing and matching knobs creates a fun look. My knobs were given to me by a hardware store that discontinued several lines of their knobs. Their old display = inspiration and project time for me! Other thoughts: traditional hooks would also look great on this rack.


Attach the knobs and add some brackets on the back for easy hanging and you are done.


I love these hanging racks. The two below are hanging in my closet. These provide a fun way to display and store jewelry, purses, jackets, and more.


This is probably my favorite edge- I love this router bit! So classy.


Power tools: yes or no?

With a little guidance, I love to work on projects requiring power tools. 
I used to be afraid of them, but there're really nothing to be scared of :)


Wednesday, April 16, 2014

Easy Spring Wreath

I hope you all are having an amazing week so far. Today, I'm sharing a fun spring wreath I recently made. It was so easy to make and it's so simple, yet lovely. Perfect for the whole spring season!


This wreath starts with a wreath form (available at craft stores) and burlap ribbon (I got mine at Wal-Mart for less than $3). Begin by wrapping the wreath form with the burlap ribbon. Wrap the burlap tight enough so that it doesn't come loose.


Once you have completely covered the wreath form, cut the excess burlap off and secure the end of the burlap with a few dabs of craft glue or hot glue.


Next is the fun part! Add whatever fun spring embellishments you wish to add: Easter eggs, flowers, etc. I added little birds nests with faux robin eggs-- so perfect for spring. You can find similar nests here and here. Finally, attach a big ribbon for hanging and you're good to go!


Are you ready for Easter?
I'm still finalizing our menu, but other than that, we're good to go!


Tuesday, April 8, 2014

Easy Painted Mason Jar

Our daffodils have been blooming like crazy over the last few weeks. It's a sure sign that spring is finally here, whether the weather wants to admit it or not... 

I often arrange flowers in mason jars; it's simple and easy. And if the jar breaks, it's no biggie. In an attempt to spruce up my mason jar, I bought enamel paint to add some color. This paint has a bit of a frosted look, which was really neat. I didn't realize that it was frosted paint until after I baked the jar, but if I had realized prior, I would have put the paint on the outside of the jar. Either way, it still looks great and it was a really inexpensive solution to pretty-up a plain jar. 


To get this look, clean your jar with rubbing alcohol and let it dry. Apply DecoArt Americana Frost Glass Enamel Paint. I used their turquoise paint; it made for a beautiful contrast!

If you are painting the inside of your jar, squirt 2 ounces (depending on the size of your jar) of paint into the jar and rotate the jar until it is fully covered in paint. Flip the jar upside down and allow the excess paint to drip out for about 15 minutes. Placing your jar on paper plates or newspaper works well. After, turn your jar upright and let it dry.

If you are painting the outside of your jar, grab a brush and start painting!

Once you have painted your jar, (either the inside or outside) allow it to dry for 4 days. Once 3 days has passed, bake your jar at 275* for 30 minutes in a non-preheated oven. Let the mason jar cool with the oven door open.

The photo below is a more realistic representation of what the color looks like.


**For safety reasons, if you plan on drinking out of your jar do not paint the inside of the jar. I wouldn't recommend putting paint anywhere that your lips would touch.

Does it feel like spring where you live??


Monday, March 31, 2014

Clean Your Coffee Maker!! {Spring Cleaning}

Good morning! I hope all of you had a fabulous weekend. I have one question for you today. How often do you clean your coffee maker? Yea, thought so... I'm embarrassed to say that mine does not get cleaned often enough.

If you don't clean your coffee maker regularly, it could be full of germs. Bacteria tends to grow pretty well in dark damp places, so imagine what the inside of that machine is like! In light of Spring and Spring cleaning, today I'm sharing tips to help you keep your coffee maker clean.


1) First, wipe down the entire coffee maker with a damp cloth.

2) Next, fill the coffee maker with equal parts of water and white distilled vinegar and place a clean filter in the filter basket. Turn the coffee maker "on" so that it brews. Allow the coffee maker to brew half of the solution, then turn it off and let it sit for one hour. Once the hour passes, allow the remaining solution to brew. After the coffee maker has finished brewing, brew a few cycles of plain water. Do this at once every few weeks or at least once each month.

3) Finally, wash the removable parts with hot soapy water, or run them through the dishwasher. Do this at least once a week.


So tell me, how often do you clean your coffee maker?


Sunday, March 9, 2014

Finger Paint Shamrock Card

Happy Sunday! I hope you all are having a wonderful weekend. We're finally having some beautiful weather after so much wind and rain. The dogs are especially thrilled that they can roll around and be lazy outside in the sun!


I can hardly believe that St. Patrick's Day is just around the corner! It seems like we were just celebrating Valentine's Day. If you're looking for a St. Patty's craft that it super easy and inexpensive, look no further! This Finger Paint Shamrock Card is so easy to make and would make a perfect project for kids.


All you need is a blank card, green paint, a pencil, a shamrock cookie cutter or stencil, and a permanent marker or glitter pen. I purchase my blank cards from Walmart, but I'm sure any craft store sells them.

Begin by lightly tracing the cookie cutter or stencil onto the front of the card. Next, dip your finger and begin to trace the outline of the shamrock, making small dots and ovals with your finger. Once the shamrock is "outlined" in paint, begin by filling it in. Once the paint dries, add a festive saying or phrase with permanent marker or a glitter pen.


How are you celebrating St. Patrick's Day?


Friday, March 7, 2014

Homemade Coconut Milk Coffee Creamer {Dairy-Free}

I've really began to cherish mornings and the moments of quiet that I have before heading off to work. It's so great to have a little bit of time to myself, not being rushed or stressed. Just time to breathe. Almost always, those moments are spent with a coffee cup in my hand.

Ever since I stopped {minus a few occasions} drinking dairy milk last summer, I've been craving a delicious non-dairy coffee creamer that wasn't full of sugar and ingredients I couldn't pronounce. Those are hard to find at my grocery store! My do-it-yourself spirit decided to make my own and I was so happy with the results. This three-ingredient Homemade Coconut Milk Coffee Creamer is creamy, flavorful, and delicious! Give this homemade coffee creamer a try even if you're not dairy-free!


This delicious homemade coffee creamer starts with light coconut milk. Feel free to use the full-fat version if you would like. It would be even creamier!


Homemade Coconut Milk Coffee Creamer

Ingredients:

1 14-ounce can light coconut milk
2 teaspoons pure vanilla extract
3-4 tablespoons organic honey

Directions:

In a saucepan over medium-low heat, combine the can of light coconut milk, vanilla, and honey and stir. Continue to stir occasionally for about five minutes, until the mixture is well combined.

Pour the mixture into a mason jar (pint) and let it cool before transferring it to the refrigerator.

*This homemade coffee creamer keeps for about a week.


Monday, March 3, 2014

DIY Windshield Frost Prevention Spray

Even though I live at the beach, we still get the occasional snowfall. We also get our share of icy windshields, which are such a pain-- especially when you have somewhere you need to be and you don't have time to scrape the whole darn thing. Our extreme cold weather may finally be over {fingers crossed!!!}, but I know that there are still many of you out there who are battling what seems to be a never ending winter. 


You may already have plenty of tricks for preventing frost and ice on your windshield, but if not try my DIY Windshield Frost Prevention Spray! It works like a charm :)


What's the weather like where you are?

Saturday, March 1, 2014

"Luck of The Irish" {Free Printable}

Hello, hello. I hope everyone is enjoying the first day of March! Despite the chill in the air, it's a beautiful afternoon on the island and it certainly looks like spring might just be around the corner! 

St. Patrick's Day was never a hugely celebrated holiday while growing up, but I was always sure to wear something green to avoid the dreaded pinches! Now that I'm older, I take advantage of every holiday-- each one is the perfect excuse to craft, decorate the home, and get festive. Over the next few weeks, I plan to share a few fun crafts and ideas with you so that you can bring some St. Patty's cheer to your home as well. 

First up, an Irish blessing inspired St. Patty's Printable. Please feel free to print it and display it in your home, at work, or use it as a tag for treats. This printable would look so cute as a tag attached to a little bag of lucky charms! The possibilities are endless. Happy crafting :)


Hope you all have a wonderful weekend!


Sunday, February 9, 2014

Covered Button Earrings + Valentine Printable

Happy Sunday! I'm so excited to share a super simple DIY project with you: Covered Button Earrings. I've been meaning to share them for a while, but now they can be turned into a super cute Valentine to give out to the special ladies in your life. Depending on which type of fabric you choose, you can create a look that everyone will love-- from children to grandmas, you can't go wrong with these easy earrings! 

To make Valentine gifting a bit easier, I've included free printables.


All you need is some scrap fabric, earring posts and backs, and a button kit. Button kits can be purchased online and in craft stores and they come in all sorts of sizes, so choose whatever size you'd like to rock on your ears!


Begin by cutting a scrap of fabric about 1.5 times the size of the button. Place the fabric into the form. Next, place the button top in the form. 


Place the excess fabric scraps into the button and place the button bottom (the part with the metal loop) into the form. 


Place the button press over the button and firmly press it in until it is well secured.


Remove the button from the form. With a pair of small pliers, remove the loop from the back of the button. 


Finally, glue an earring post to the back of the button. You now have an earring! 

To make a super cute Valentine, just print your favorite printable (from below) on some card stock, cut out the heart, secure the earrings through the heart, and you're good to go!


Feel free to use my Valentine printables. Just right-click to save or copy/paste!


Hope you all have an amazing week :)